Spring Roller Mounting Guide
Congratulations on your new pull-down, spring roller maps! Installing your roller for the first time can seem tricky but we will guide you through each step below.
Spring roller maps look simple on the wall. Getting them there correctly takes a few steps worth doing right. This guide covers the full installation process: assembling the backboard and side brackets, selecting the right wall hardware for your surface type, mounting at the correct height, and using the loop cord properly once it’s up.
It also covers how to cycle through multiple maps on a single roller, and a three-step troubleshooting process for resetting spring tension if your roller stops retracting.
Read all instructions before starting. Following the correct sequence prevents damage.
Congratulations on your new pull-down, spring roller maps! Installing your roller for the first time can seem tricky but we will guide you through each step below.
Before installing your spring roller please read the following:

Understanding the different parts of your spring roller will make installation easier.
You can skip this entire section if you ordered a spring roller with a backboard. In this case, we have mounted the backboard to the spring roller for you.

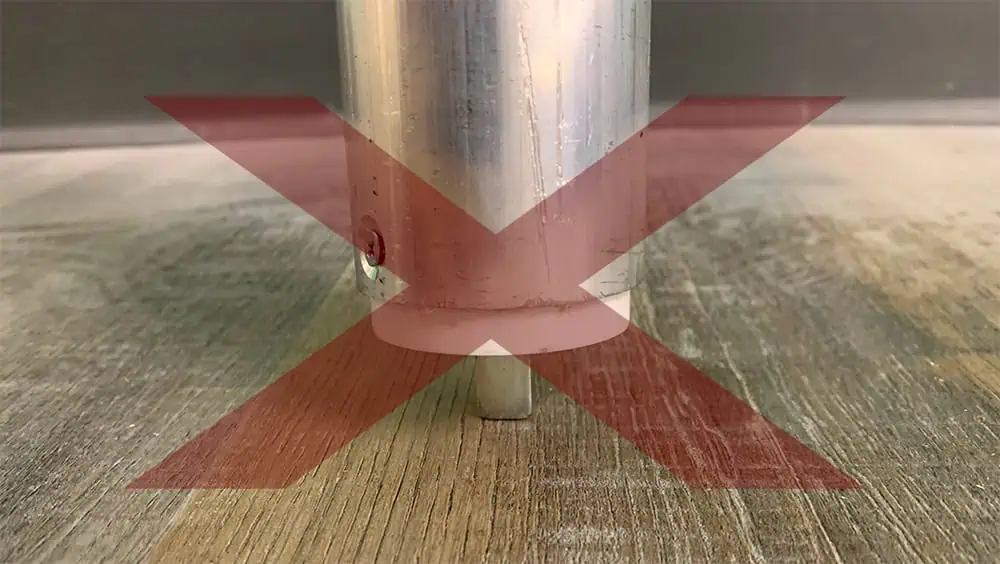
Please notice that your Spring Roller has a different pin shape on each side. One has a round pin, one has a rectangular pin. Each pin needs to be installed into the corresponding shape within the side brackets.


Attach the side bracket with the round hole (not the rectangular hole) to the backboard using the bolt, lock washer, and nut provided. The side bracket with round slot will be right side of your spring roller when facing it on the wall.
Please place the locking washer on the bolt side, not on the nut side, as pictured. The order top to bottom should be bolt, locking washer, bracket, backboard, and the nut.

Please the round pin into the round hole within the side bracket.

Slide the second side bracket with the rectangular hole over the rectangular pin on the other side of the spring roller. This will hold the tension in place. Secure the bracket to the backboard with the bolt, washer, and nut. This will lock the spring roller between the two brackets onto the backboard.
Be sure not to twist and release the pin while installing because this could release the tension added to your spring roller.
Screws and wall anchors are not included with your order because your wall type determines the hardware you should use. Please read below to identify the proper hardware for your use.

Map Shop does not send you the hardware (screws or wall anchors) you will need to secure the mounting brackets to the wall. Please consult an expert to determine the composition of your wall and the best hardware for your situation. The following recommendations generally work but do not apply to all situations:
Due to weight of your spring roller, wall anchors are required to ensure longterm safety.


If your Spring Roller contains 1-2 maps, you will need a single wall mount. If your Spring Roller contains 3 or more maps, you will need two wide wall mounts. See examples of each wall mount here but please note that the finishing and color of your wall mount can vary from those pictured.
Click here to see all our mounting hardware.
YOUR PRODUCT WARRANTY WILL BE VOIDED IF DIFFERENT MOUNTS ARE USED.


Determine the location for your spring roller and ensure there is room to slide the spring roller over the wall mount. If there is heavy furniture to each side of your wall mount, you will not be able to slide the spring roller over the wall mounts.
Wall Maps containing 1 or 2 maps: Backboard mounting bracket will be in the middle of backboard when in final position.
Wall Maps Containing 3 or more maps: Requires 2 backboard mounting brackets and final placement roughly one foot inside each end of the wall map backboard.
Place a mark on your wall at least 6ft from the floor at the center point where you want your Spring Roller installed.

Spring Rollers need to be installed level to the ground, so make sure holes are properly marked and tested for level before any holes are drilled.
Hold your wall mount(s) on the wall in the proper locations as described in Step 2 and mark the hole locations. Before drilling, confirm your holes are level.
Now use the proper installation hardware described in Step 1 and install the wall mounts to the wall.
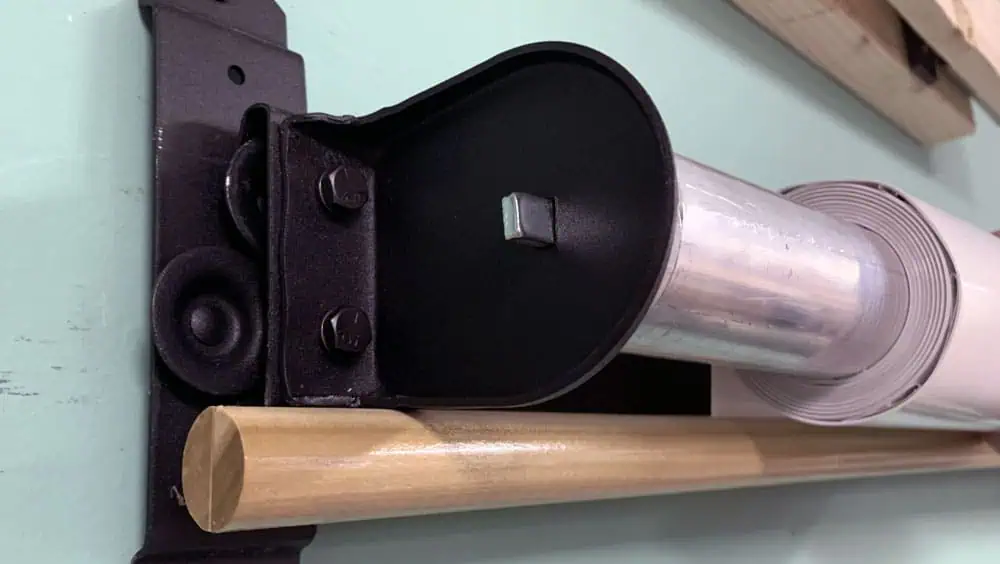

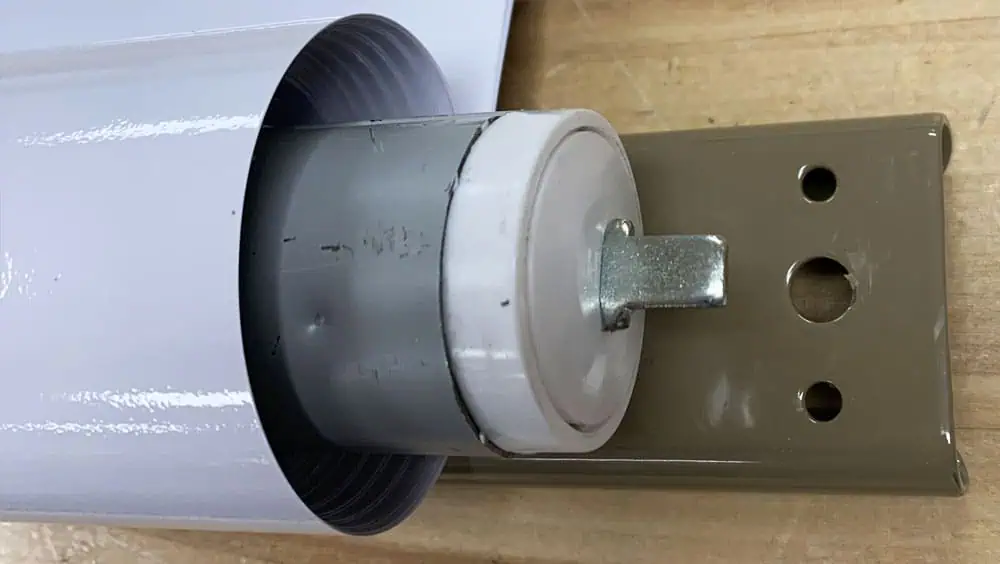
Lift your assembled Spring Roller and guide the backboard’s channel through the buttons on the wall mounts.
If your Spring Roller has 1-2 maps, slide the channel over the buttons and center your map on the backboard mounting bracket.
If your Spring Roller has 3+ maps, slide the channel over the buttons until each wall mount is about 1ft from the each edge of the Spring Roller.
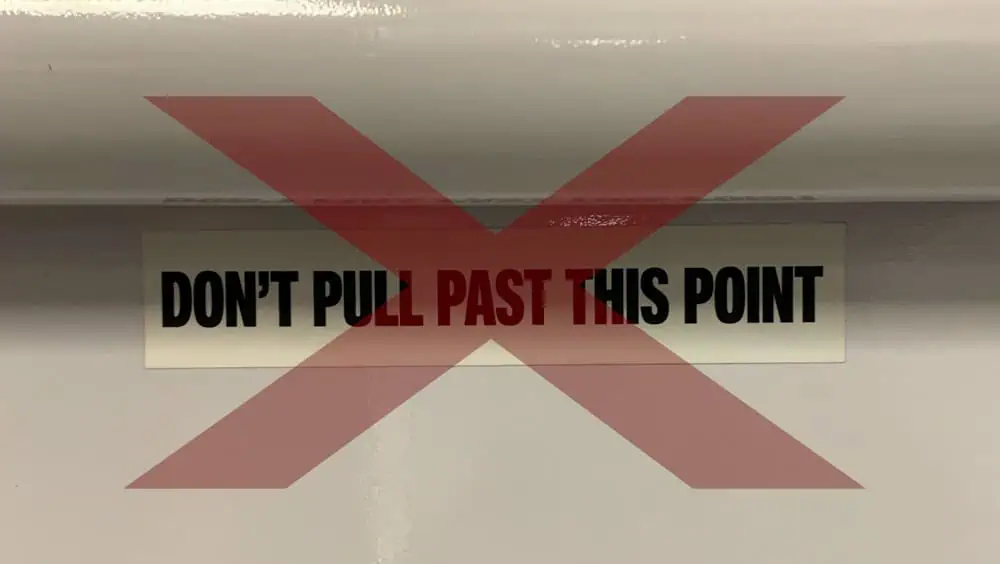
Be sure to pull your spring roller down from the loop cord attached to the bottom rail. Never pull a spring roller down by the sides of a map or by the side of the rail. This may tear the maps.
Your top map will may have a sticker that reads “DO NOT PULL PAST THIS POINT” above the top of the map image. Where this sticker is placed depends on the heights of all the maps included. Once you see full image of the map, you should stop pulling the map down and do not pull past the sticker.
If pull your roller down past the “DO NOT PULL PAST THIS POINT” sticker, the roller can get stuck in the down position. If that happens, you can follow the Troubleshooting steps below to set tension again.
Be sure to SLOWLY allow your Spring Roller to retract back when done with usage to prevent damage to maps and spring roller.

If you have a set of multiple maps on one roller and want to reveal one of the maps hidden under the first map, please do the following:
NOTE: If the spring roller does allow movement of the Wall Map(s) to move up and down but not enough tension for pull usage, make sure the wall map(s) are pulled down slightly and locked into place before starting the process.

Remove the Wall Map(s) and backboard from the wall by sliding it out of the backboard mounting bracket(s). Then remove the side bracket (side bracket with rounded hole)from the backboard by taking off the bolt and nuts.
Do NOT bend the backboard side brackets to remove from backboard.
Inspect each end of the roller. On one end, you will observe a round stationary post and on the other end, you will notice a flat post that can be turned. The flat post end has a gear type mechanism that is hidden within the roller. This is the end that needs to be re-sprung.
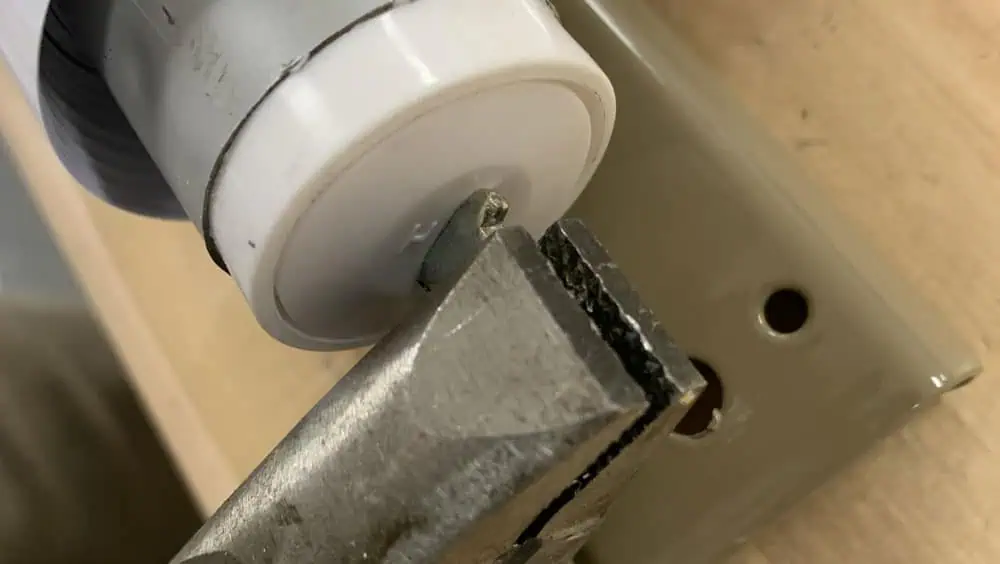
To re-spring the tension, hold the roller parallel to the floor (Map(s) should be tightly wrapped around the spring roller). Grasp the flat post end of the roller with a pair of pliers and turn it clockwise, one click at a time. Continue turning five to six full rotations. Re-hang map on mounting brackets and check for proper tension.
Repeat several more turns if additional tension is needed for proper spring action.
Now reinstall the side brackets and install the Spring Roller back onto your Wall Mounts.